Project Guide
How Many Tiles Do You Need? A Simple Guide to Calculating Tile Quantity

Quick answer
To calculate how many tiles you need, first calculate the area you want to cover. Then calculate how much area one tile covers. Divide the total area by the area of one tile, round up to a whole tile and add a reasonable allowance for cuts, breakage and future needs.
The basic formula is:
Number of tiles = Total area ÷ Area covered by one tile
But real projects need more planning than the formula suggests.
Step 1: Measure the room
For a simple rectangular room:
Area = Length × Width
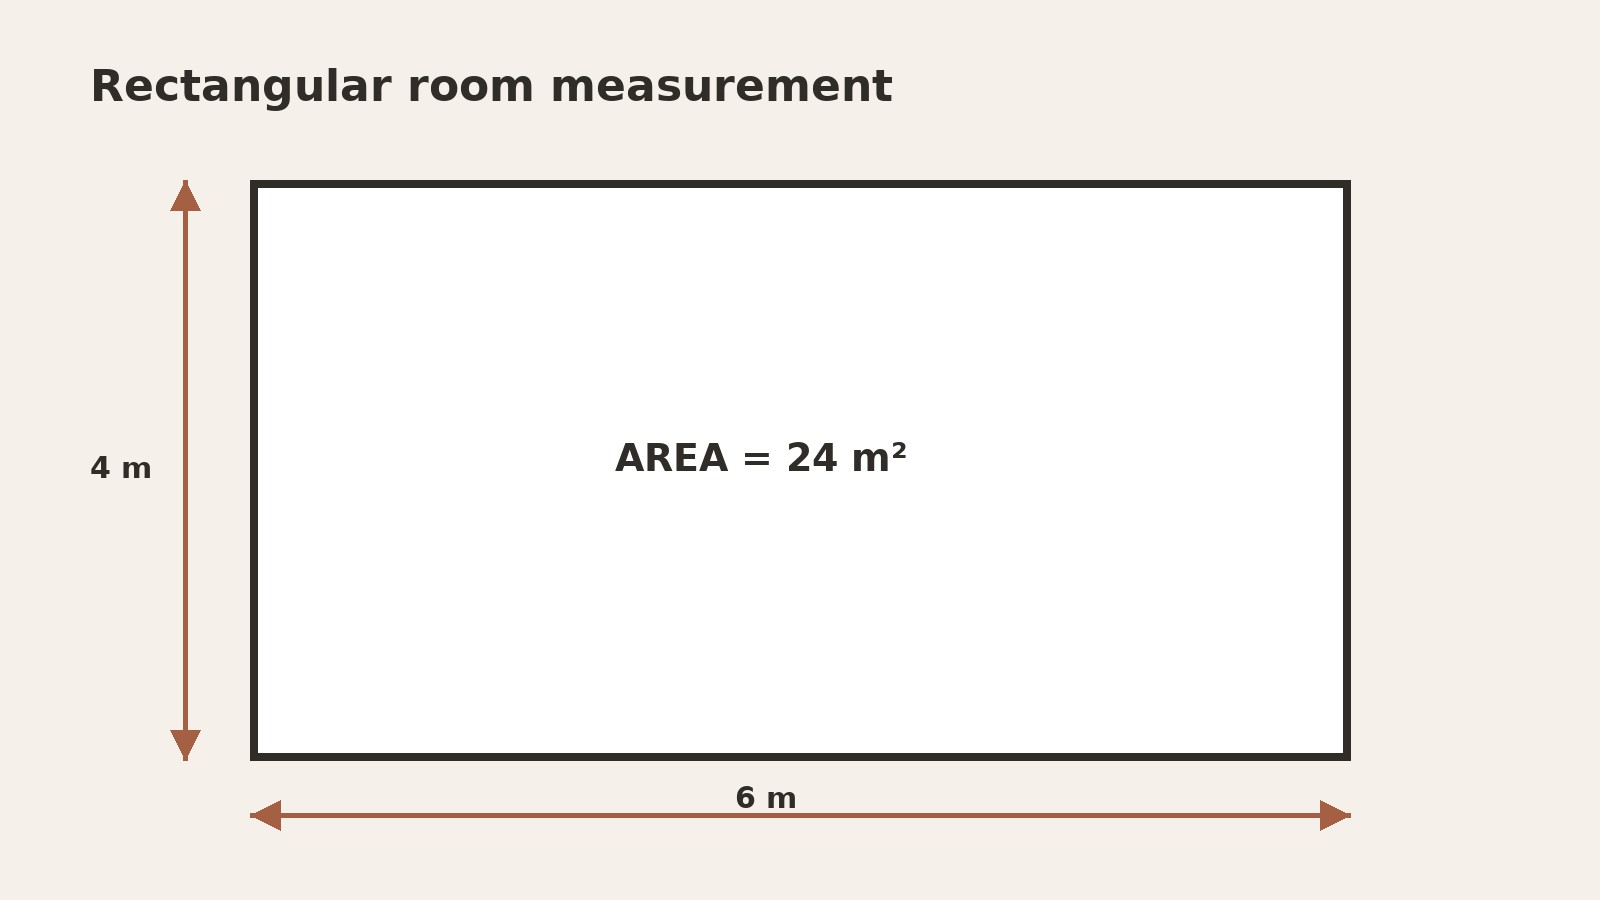
For example, suppose your living room is:
6 m × 4 m
Then:
6 × 4 = 24 m²
Your floor area is 24 square metres.
Step 2: Calculate the area of one tile
You must convert the tile dimensions from millimetres to metres.
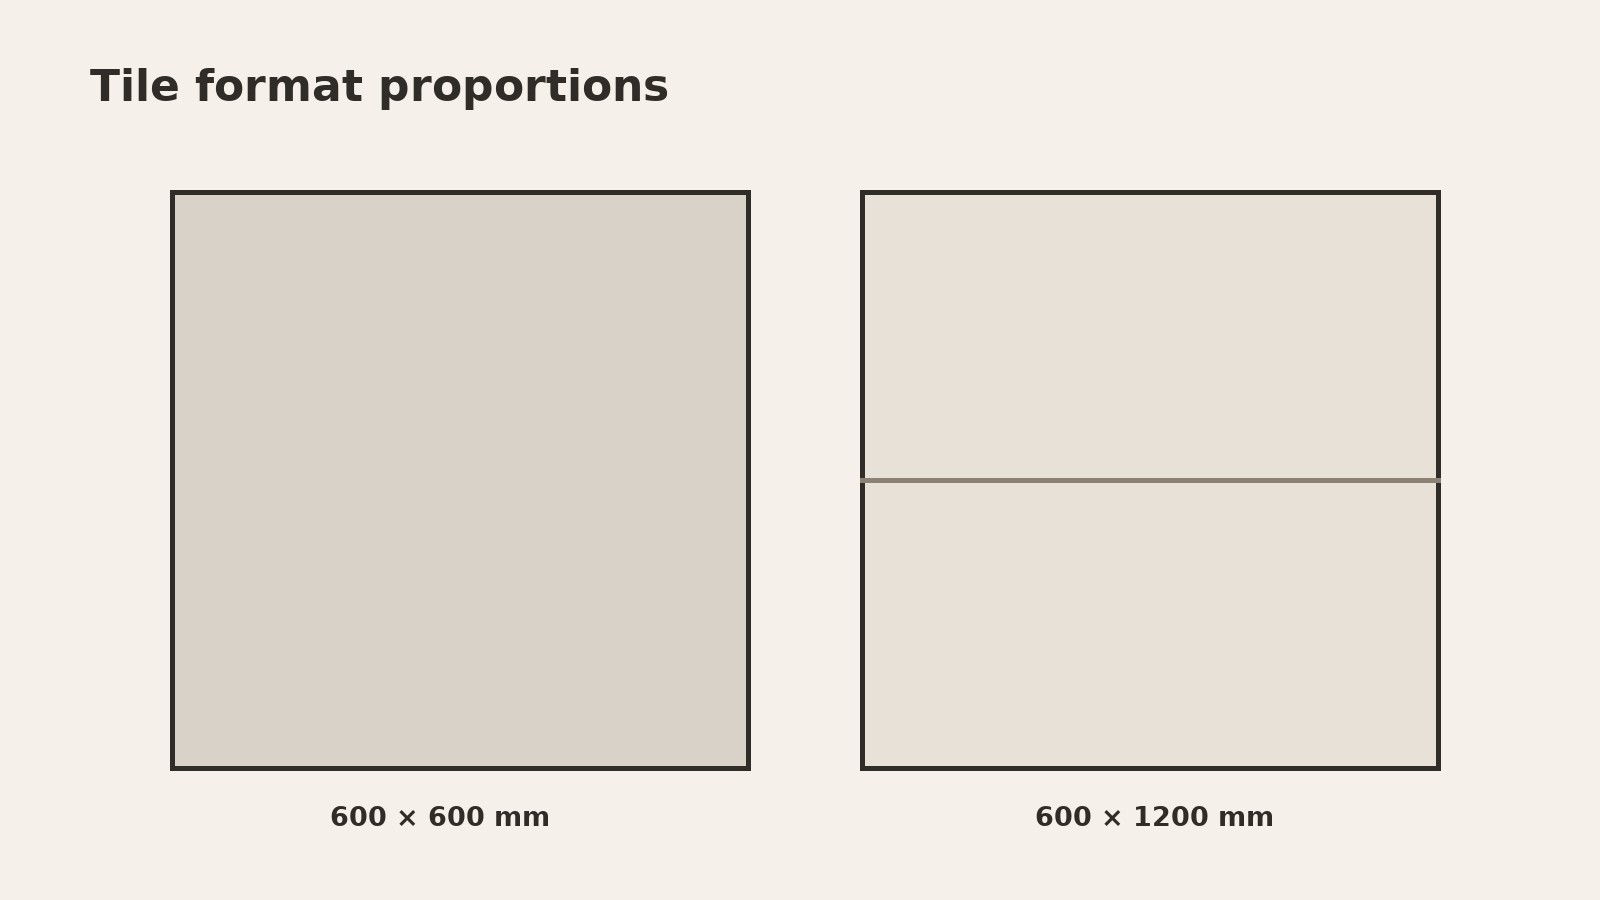
600×600 mm tile
600 mm = 0.6 m
So:
0.6 × 0.6 = 0.36 m²
One 600×600 mm tile covers 0.36 square metres.
600×1200 mm tile
600 mm = 0.6 m
1200 mm = 1.2 m
So:
0.6 × 1.2 = 0.72 m²
One 600×1200 mm tile covers 0.72 square metres.
Step 3: Divide the room area by tile coverage
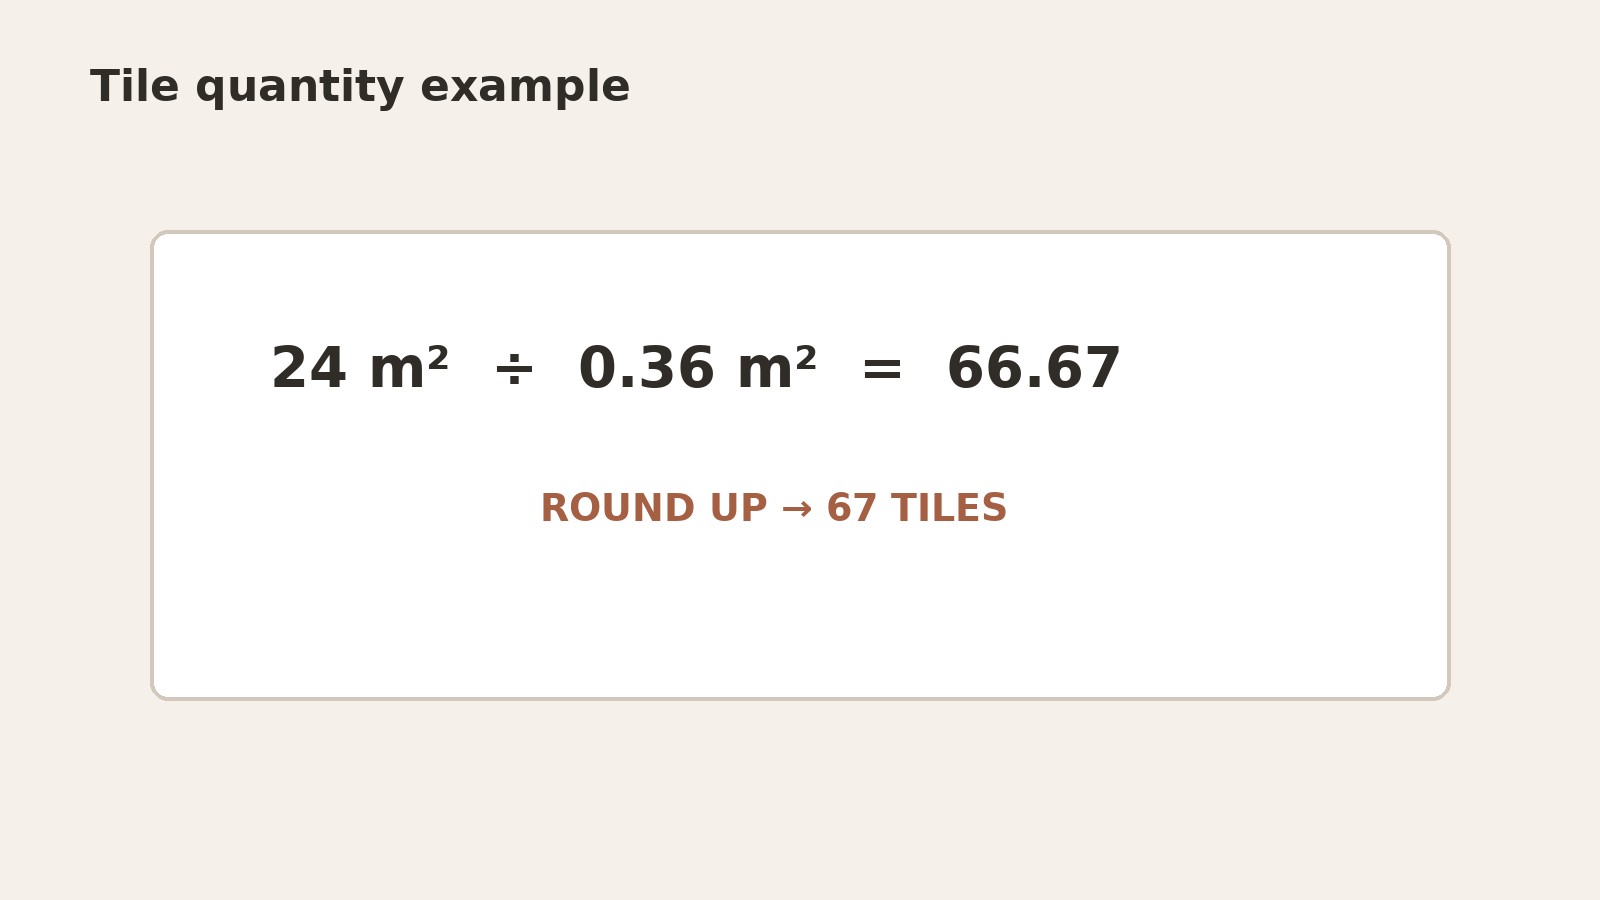
For a 24 m² room using 600×600 mm tiles:
24 ÷ 0.36 = 66.67
You cannot buy 66.67 tiles, so you round up:
67 tiles before allowance
For 600×1200 mm tiles:
24 ÷ 0.72 = 33.33
Round up:
34 tiles before allowance
Step 4: Add an allowance
Your calculated quantity is not necessarily the quantity you should order.
Tiles may need to be cut around:
Walls
Doorways
Columns
Corners
Kitchen cabinets
Bathroom fixtures
Staircases
Irregular room shapes
There can also be breakage during handling and installation.
The right allowance varies according to the room shape, tile size, installation pattern and installer. A simple rectangular room with a straightforward layout may need less allowance than a complex space with many cuts.
As an example only, if you use a 10% allowance:
600×600 mm example
Base quantity: 67 tiles
10% of 67 = 6.7
Round up:
74 tiles
600×1200 mm example
Base quantity: 34 tiles
10% of 34 = 3.4
Round up:
38 tiles
These are examples, not a universal wastage rule.
What if the room is not rectangular?
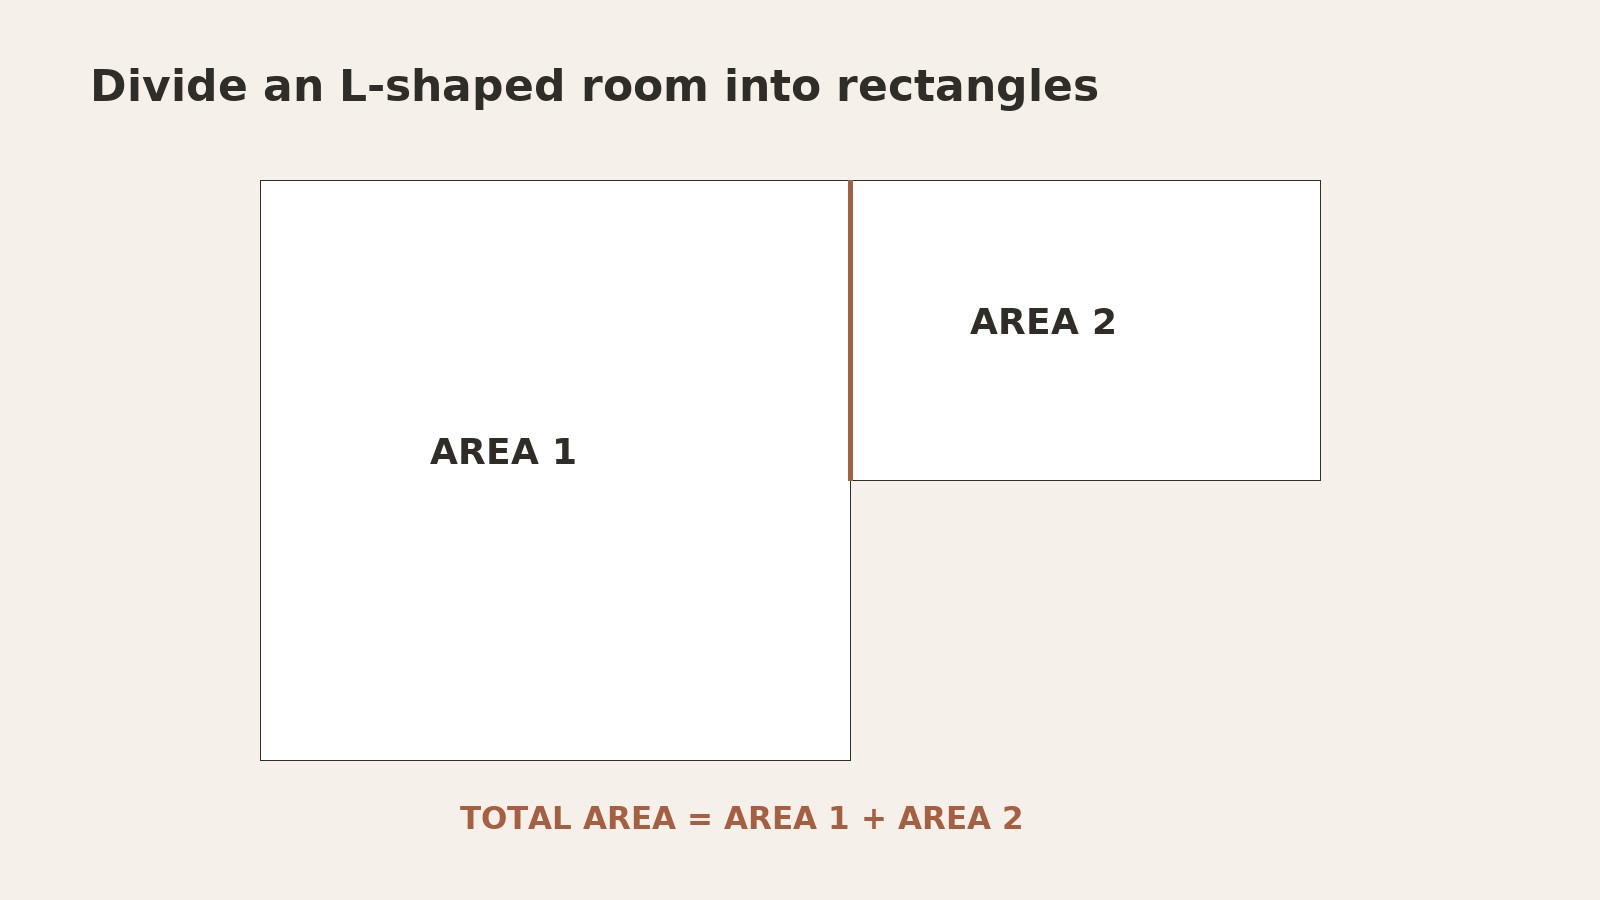
Break the room into smaller rectangles.
For example, an L-shaped room can be divided into two rectangles.
Calculate:
Area 1 + Area 2 = Total area
Then use the same tile calculation.
What about walls?
Wall tiles require a slightly different calculation.
For a rectangular wall:
Wall area = Width × Height
If a bathroom wall is 3 m wide and 2.4 m high:
3 × 2.4 = 7.2 m²
If there are multiple walls, calculate each one separately and add them together.
Then subtract significant openings such as large windows or doors where appropriate.
What about doors and windows?
If you are calculating wall tiles, openings can reduce the tile area required.
For example:
Wall area: 7.2 m²
Door opening: 0.9 m × 2.1 m
Door area:
0.9 × 2.1 = 1.89 m²
Approximate tile area:
7.2 - 1.89 = 5.31 m²
This is still only the net area calculation. You need to consider cuts and the actual installation layout.
Tile quantity table
For a 24 m² area:
| Tile size | Area per tile | Base quantity before allowance |
|---|---|---|
| 300×600 mm | 0.18 m² | 134 |
| 400×800 mm | 0.32 m² | 75 |
| 600×600 mm | 0.36 m² | 67 |
| 600×1200 mm | 0.72 m² | 34 |
These figures are rounded up.
Why you should not order only the exact calculated number
Imagine you calculate that you need exactly 67 tiles.
If one tile breaks during installation, you now have 66 usable tiles.
If the installer needs additional cuts, you may need more.
If the product is later discontinued or unavailable, replacing a damaged tile may also become difficult.
For that reason, project planning should include a reasonable allowance and, where appropriate, retain a small quantity of spare tiles after installation.
What affects tile wastage?
Wastage is influenced by:
Room shape
Simple rectangles are easier to plan than irregular spaces.
Tile size
Larger tiles can create more noticeable cuts around small spaces or obstacles.
Installation pattern
Straight-lay, staggered, diagonal and other patterns can produce different cutting requirements.
Tile design
Highly directional patterns may require additional planning to maintain visual continuity.
Installer experience
Good layout planning can reduce unnecessary cuts and waste.
Buying tiles for an entire house
Do not simply measure the entire house and buy one percentage.
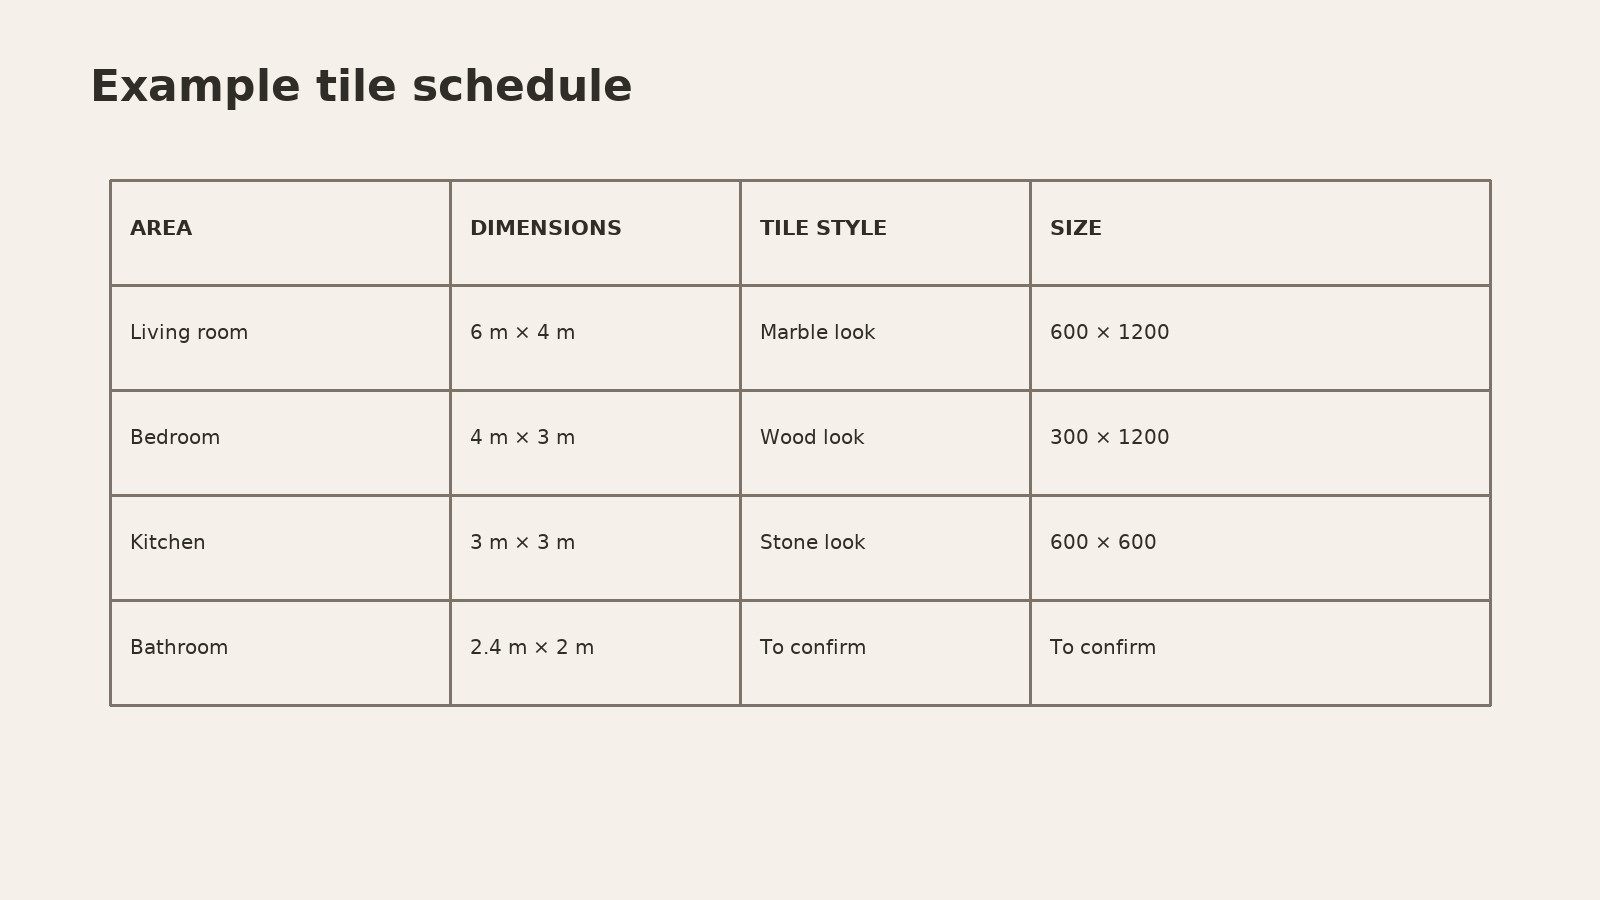
Break the project into areas:
Living room
Dining
Bedrooms
Kitchen
Bathrooms
Hallways
Staircases
Balconies
Outdoor areas
Walls
Calculate each area separately.
This helps you understand exactly where each product will be used and reduces the risk of mixing up quantities.
What information should you give a tile supplier?
If you want a supplier to help you estimate quantities, provide:
Room dimensions
Floor plans where available
Number of rooms
Ceiling/wall heights for wall tiling
Door and window dimensions
Preferred tile sizes
Preferred collections or styles
Installation pattern
Whether tiles are required for floors, walls or both
Project location
For a large development, architectural drawings and a room schedule can make the process much more accurate.
Frequently asked questions
How many 60×60 tiles do I need for 24 square metres?
A 600×600 mm tile covers 0.36 m². For 24 m², you need 67 tiles before adding an allowance for cuts and breakage.
How many 60×120 tiles do I need for 24 square metres?
A 600×1200 mm tile covers 0.72 m². For 24 m², you need 34 tiles before adding an allowance.
How much tile wastage should I add?
There is no single percentage that works for every project. The allowance depends on room shape, tile size, pattern, cuts and installation conditions.
Should I keep leftover tiles?
Yes, where practical. Keeping a small quantity of the installed tile can be useful for future repairs, especially if the product may not remain available indefinitely.
Can a tile supplier calculate how many tiles I need?
A supplier can help with quantity planning when you provide accurate dimensions and project information. For complex projects, quantities should also be coordinated with the architect, contractor or installer.
Final thoughts
Calculating tile quantity is simple when you break it into steps:
Measure → calculate area → calculate tile coverage → divide → round up → add a reasonable allowance → confirm with the installation plan.
Do not order based on guesswork. A few minutes spent measuring and planning can prevent costly shortages, unnecessary waste and delays.
CTA: Have a project you are planning? Share your tile requirements with Glizers and discuss the right products, formats and quantities for your space. Every space deserves the right tile. Share your project details and measurements with our team on WhatsApp for tailored recommendations, or request a quote to begin.
Need help choosing the right tiles for your project?
Tell us what you're working on, what you need and where your project is located. Our team can help you explore suitable tile options for your project.